
::Trek Bracelet--Free Crochet Pattern::
While away on a re-enactment of a Pioneer Trek this past week, I took with me some twine and a single hook. While resting along the dusty trails, I worked up a little bracelet that I thought I would share with you. I'm calling it
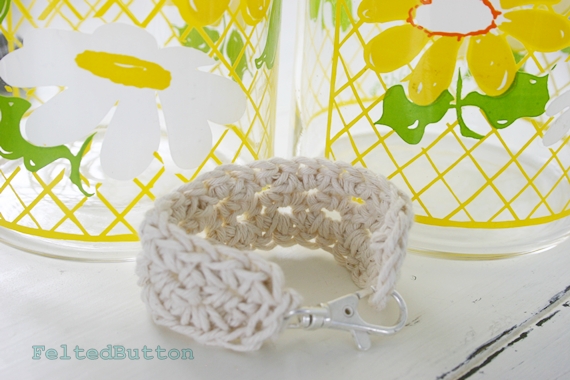
The Trek Bracelet
--fitting name, huh?
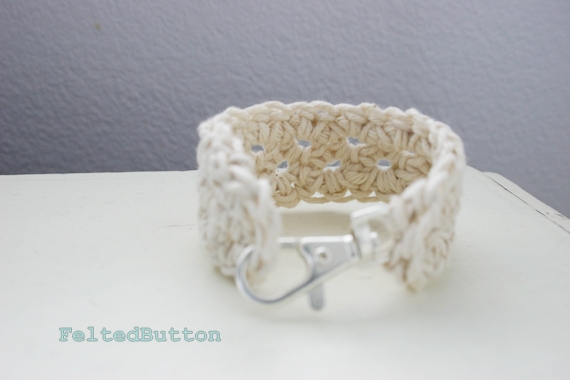
It's simple and
only takes about ten minutes. I made some for each of the youth in my "trek family". Twine seemed like a simple enough material that pioneers might have had on hand, so I used that.
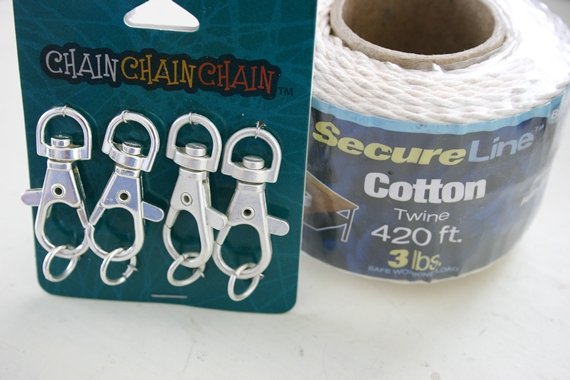
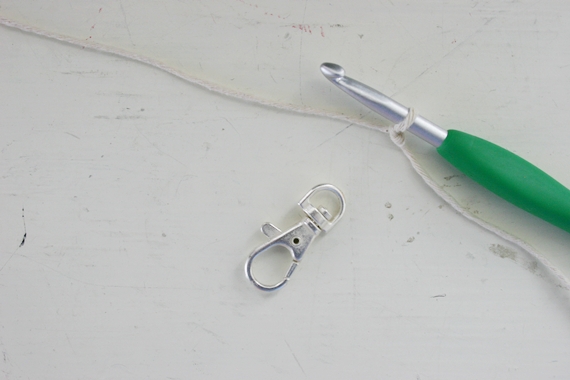
Materials:
--Twine (3lb strength--about DK weight--or any cotton yarn of your choice--even kitchen cotton would be good)
--I (5.5mm) hook
--Keychain lobster clasps (I used clasps made by Plaid that I bought at JoAnn)
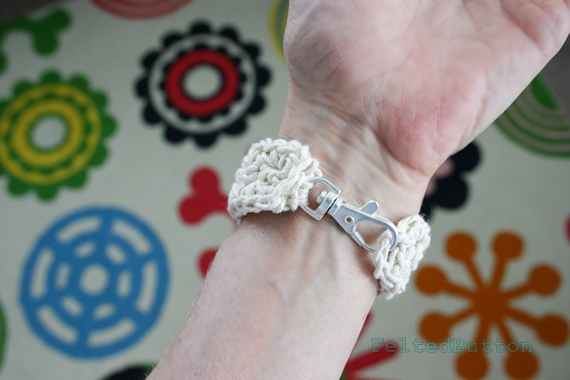
 Notes: The twine and larg-ish hook size produces a bracelet with a little stretch so consider this as you determine the length. Also, you can use the little jump ring for the clasp to connect with, but I didn't as I didn't have any pliers with me and the little clasps rotate to lay pretty flat on your wrist without it.


Sc again in the same sp. So now you have 2 sc in the ring of the clasp.

Row 1 is complete.
This shows two rows done. Just keep working...

...and still repeating Row 2...


Just keep going.
When you reach the end, ch 3, then sl st to the opposite corner of the short side (arrow). This makes a nice little loop to which you can hook your lobster clasp. Fasten off and weave in the ends.


The Trek Bracelet
--fitting name, huh?

It's simple and
only takes about ten minutes. I made some for each of the youth in my "trek family". Twine seemed like a simple enough material that pioneers might have had on hand, so I used that.
Materials:
--Twine (3lb strength--about DK weight--or any cotton yarn of your choice--even kitchen cotton would be good)
--I (5.5mm) hook
--Keychain lobster clasps (I used clasps made by Plaid that I bought at JoAnn)

Dimensions: My trek bracelet measured about 7.5 inches long (19cm) and 1 inch (2.5cm) wide. You can make yours any size.
Bracelet:
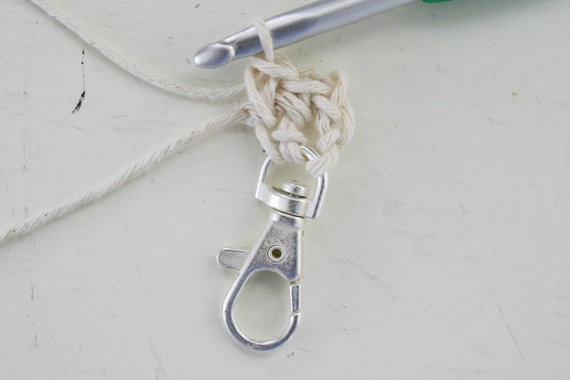
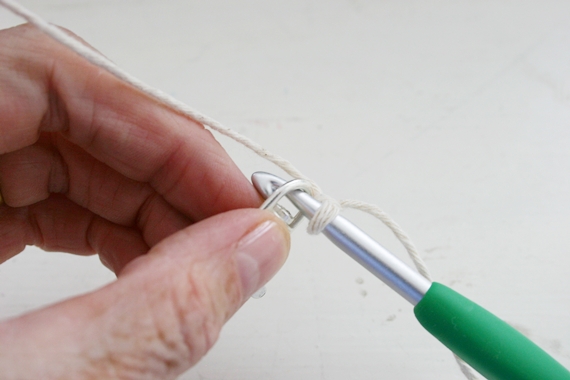
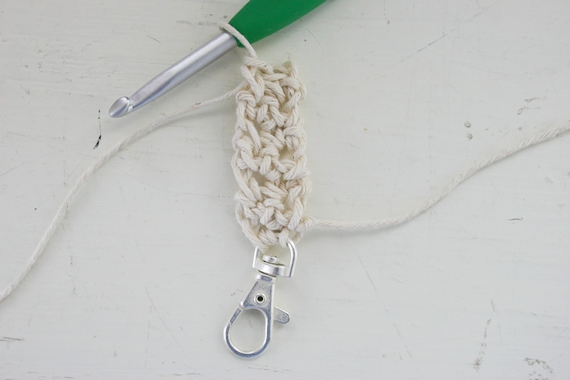
Row 1--Join with sc in the end of the clasp. Do this by placing a slip knot on your hook. Insert your hook through the ring on the clasp.
If you have a tough time fitting your hook through the ring on the clasp, insert a smaller hook, yo, and then switch to the larger hook before completing the sc.
Sc again in the same sp. So now you have 2 sc in the ring of the clasp.
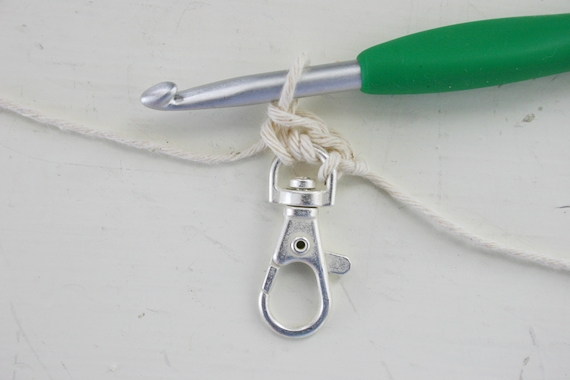
Row 1 is complete.
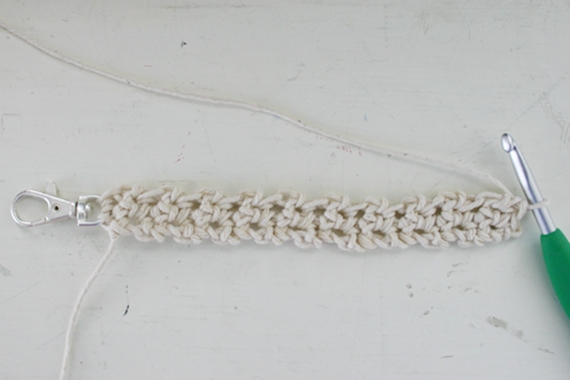
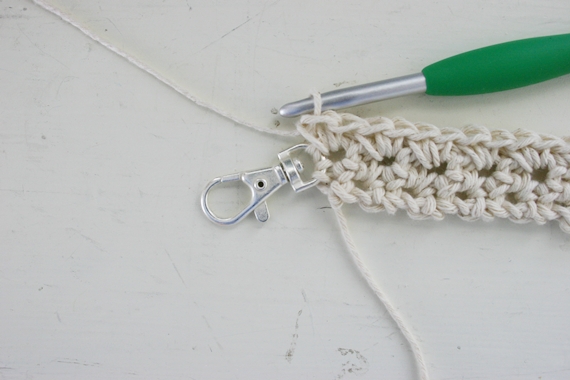
Row 2--Ch 1 (does NOT count as a st), sc in each sc across, turn
Repeat Row 2 until the bracelet is the desired length.

This shows two rows done. Just keep working...
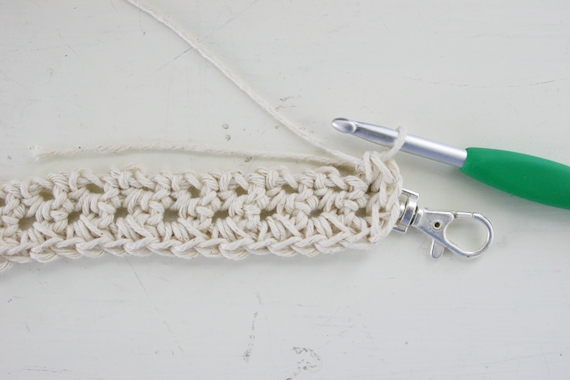
...and still repeating Row 2...

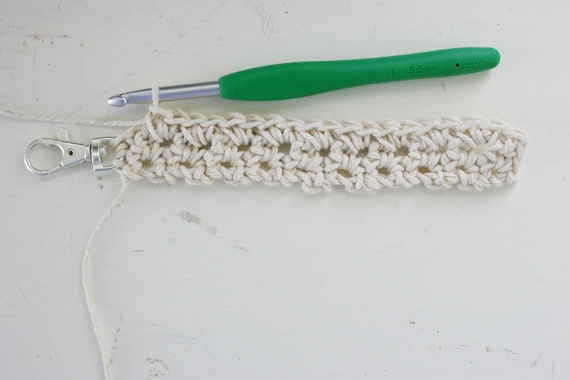
...until your bracelet wraps around your wrist loosely without stretching and just touches the tip of the clasp.
Now you are ready to do a little border.

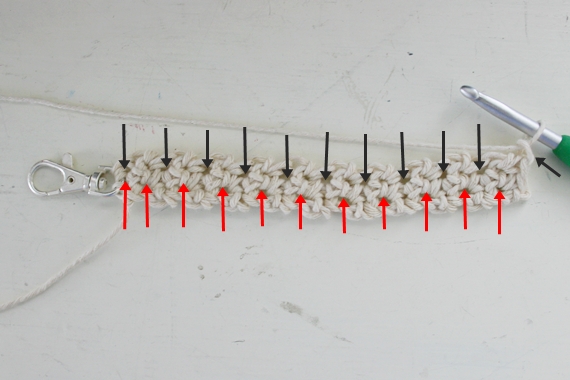
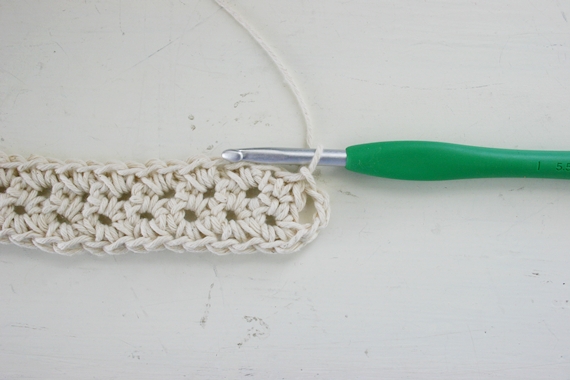
Border: ch 1 (does NOT count as a st--see the little black arrow on the right end?), 2 sc in each turning ch-sp along side. (The turning chain spaces are represented by the arrows. Work 2 sc in each sp designated by each arrow.)
Hint: You should have the same number of stitches along the sides as you have rows. (I had 20 rows and 20 sc along each long side.)
Let me show you. Can you see 2 sc in each of those spaces? Work to the end.

When you reach the clasp, complete 2 sc around the first of the 2 sc that joined to the clasp's ring.
Rotate the bracelet and work 2 sc around the other joining sc.
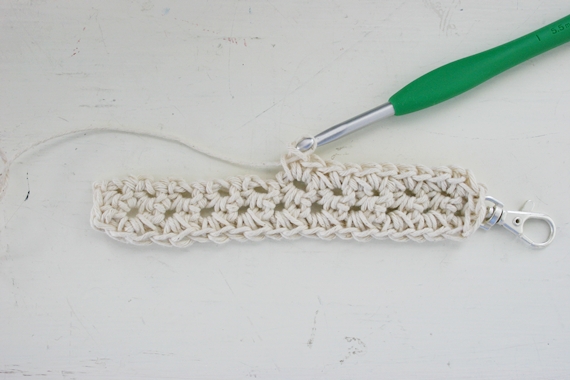
Continue working 2 sc in each turning ch-sp along the second long side.

Just keep going.

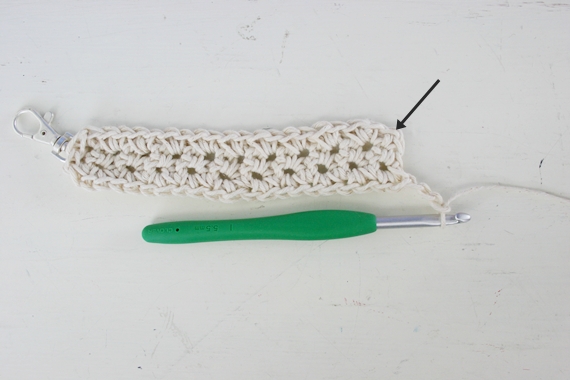
When you reach the end, ch 3, then sl st to the opposite corner of the short side (arrow). This makes a nice little loop to which you can hook your lobster clasp. Fasten off and weave in the ends.
Pretty simple, huh? I figure they can suit any age. My teens seemed to appreciate them--even the boys, as the clasps are not super "girlie".

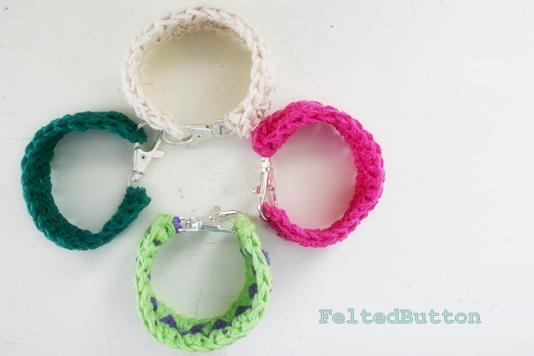
Of course, I can't just work it up in a single color, so I made a few out of some lovely DK weight mercerized cotton that I had in my stash.

And then I needed to make one in more than a single color. This purple and green one is pretty nifty, I think. It's a little ziggy-zaggy and I like that.
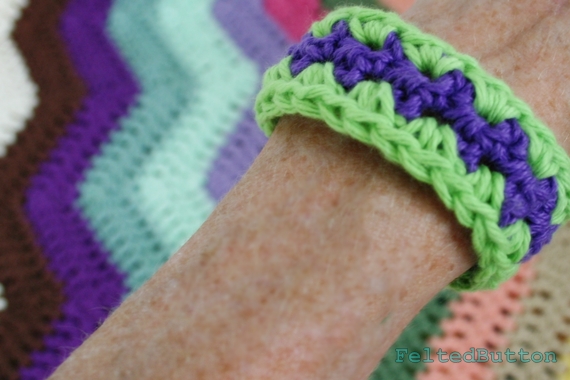
I simply worked the border in a different color. Now I might have to try it with the rows worked in different colors of the rainbow.
I'll make one and post pictures on my Facebook page here. And I've got another pattern on my hook that will be available for testers soon. I'll call for them on Facebook. Stay tuned...
Happy Hooking!!
{On the Board} -- You don't have to be great to get started, but you have to get started to be great. --Les Brown

Related Posts
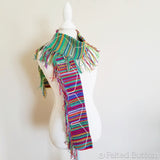
Neighborhood Scarf Free Crochet Pattern
Today is free pattern day! Below is the free crochet tutorial for my Neighborhood Scarf which I introduced and explai...
Read More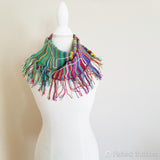
Neighborhood Scarf Reveal -- In Honor of Mr. Rogers
Last week I teased you with some unusual photos from my latest creation. And then I began a story that I'm going to f...
Read More
It's a Beautiful Day for a WIP
I've lived a really abundant life-- a life full of opportunity, experience, love and growth. Some of it has been hard...
Read More