
Joining-As-You-Go on the Road
I've got an idea for simplifying your crochet life that I want to share.
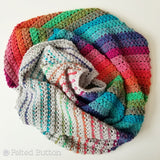
Do you like projects that use join-as-you-go for putting motifs together? Many people do because there is nothing quite as overwhelming as having a huge pile of motifs that then need to be arranged and stitched together by hand. Don't get me wrong--sometimes it is a neat and tidy way to join things. Like with my Bright as a Button Blanket...
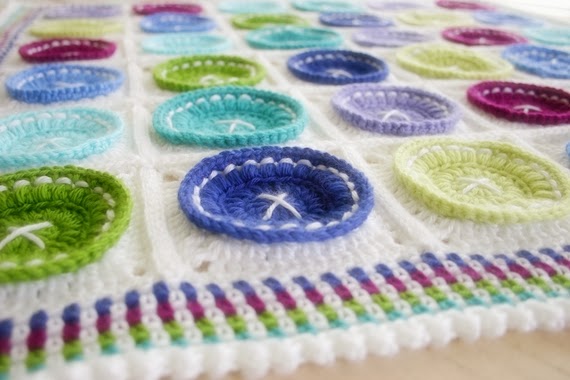
...where the joins are intentionally obvious and quite easily joined with a hook.
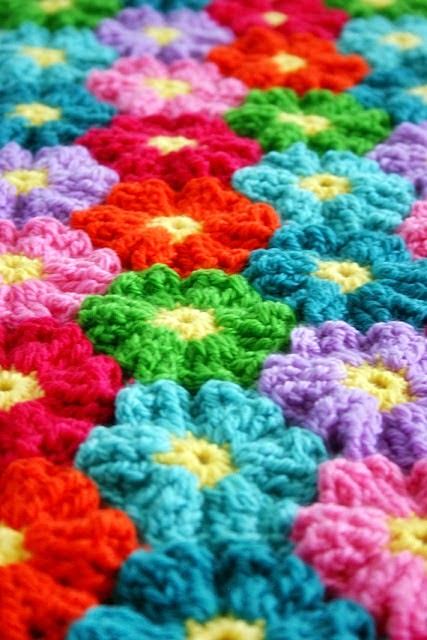
...where the tips of the flowers would look horribly messy if joined later by another method. In this situation, join-as-you-go, in my humble opinion, is really the only beautiful option.
So, here's the dilemma with a join-as-you-go project--particularly a blanket. Many crocheters, including myself, take a hook and some yarn in your bag with you almost everywhere you go. If you get a moment in a waiting room, or in the car pool line, or, well, almost anytime, you want to hook a little something. But taking an entire blanket that grows as you create each motif makes for "on the road" projects a tad cumbersome.
Want a solution? Here's my trick...
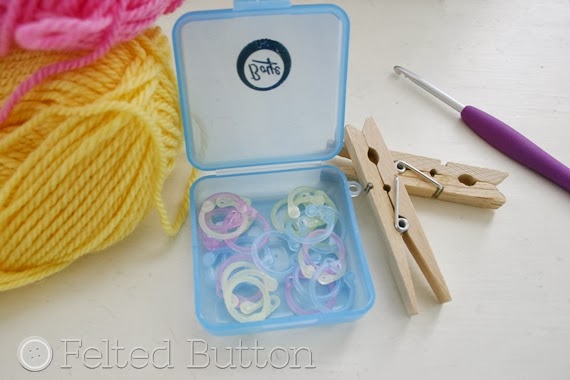
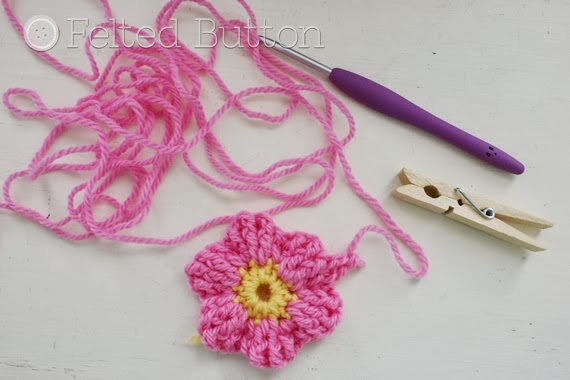
Needed materials:
--hook and yarn--(you've got these on you all the time, anyway, right?)
--clothespins
--safety pins or locking stitch markers
Here's what I do...

Here's what I do...
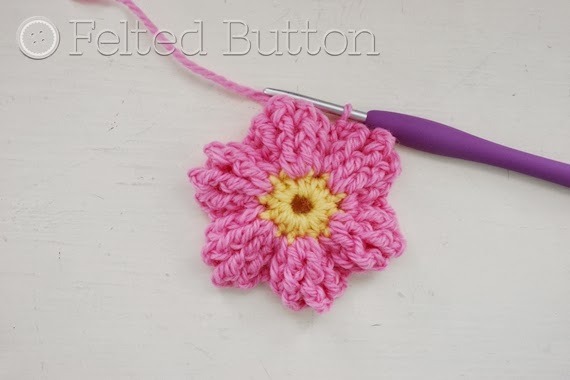
Work a motif to the final round.

Then "frog" or rip out your work back to where you would typically begin your "join-as-you-go". Don't stress, you only have to do this "frogging" once.
Now this is where you need one of these...
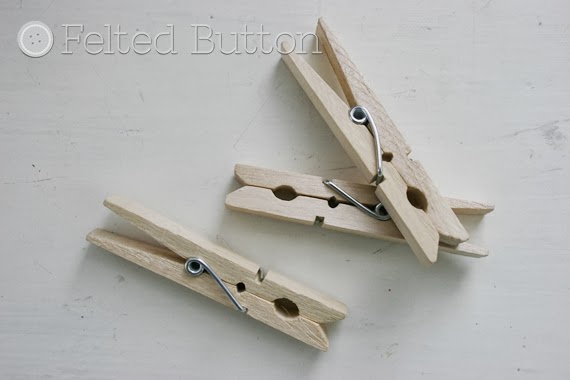

Now this is where you need one of these...

And some stitch markers or safety pins. The stitch marker shown here--through the "live" loop--is from Boye and I purchased it for a few bucks in a sweet little traveling box.
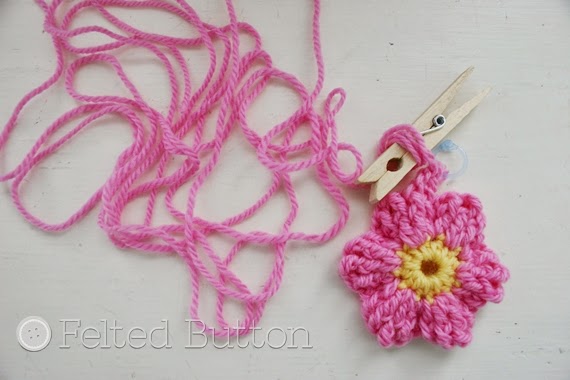
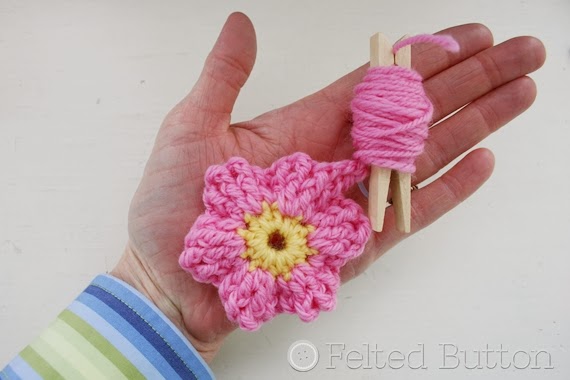
The stitch marker holds your "live" loop from being pulled out. Now place your clothespin next to your work and begin wrapping while counting your wraps, This is how you measure the length of yarn required to finish and join each motif. Watch that tension and try to be consistent each time you wrap.
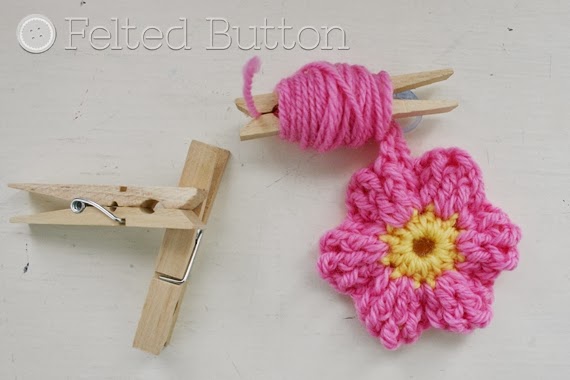
Clip the tail end of your yarn into your clothespin and record the number of wraps. (I often add a couple of wraps just to make certain I have enough yarn--particularly since joining may require a few additional slip stitches.)

Clip the tail end of your yarn into your clothespin and record the number of wraps. (I often add a couple of wraps just to make certain I have enough yarn--particularly since joining may require a few additional slip stitches.)
This little system is perfect for preventing that tail from being pulled out, having a tangled mess or losing your hard work and at the same time acting as a gauge to measure how long your tail needs to be.
Now you can toss the motif with its clothespin into your project bag. Safe, portable and simple.
On your next motif, work to where you would join, stop, place your marker, wrap your yarn around the clothespin the required number of times, fasten off, clip it in the end of the clothespin, toss it in your bag. Easy peasy.
When you are ready to join it all together, simply finish each motif and connect them all together joining as you go!
Try this and let me know if it works for you! Or if you have any other suggestions for being able to work join-as-you-go motifs without taking the entire project on the road with you, please leave a comment!
I'm working away today on this little baby. The colors make me simply giddy! I've even worked out the details to make it a "join-as-you-go" project as well as a "put-it-all-together-later" project. Simple. Clean. Colorful. Cool

Happy Hooking to you all, dear friends! Make certain to keep in the "Button Loop" on Facebook here. Lots of crochet fun, color, calls for testers, etc.
| On the Board | -- What you feed your mind determines your appetite.

Linking up with Hookin on Hump Day here.

On your next motif, work to where you would join, stop, place your marker, wrap your yarn around the clothespin the required number of times, fasten off, clip it in the end of the clothespin, toss it in your bag. Easy peasy.
When you are ready to join it all together, simply finish each motif and connect them all together joining as you go!
Try this and let me know if it works for you! Or if you have any other suggestions for being able to work join-as-you-go motifs without taking the entire project on the road with you, please leave a comment!
I'm working away today on this little baby. The colors make me simply giddy! I've even worked out the details to make it a "join-as-you-go" project as well as a "put-it-all-together-later" project. Simple. Clean. Colorful. Cool

Happy Hooking to you all, dear friends! Make certain to keep in the "Button Loop" on Facebook here. Lots of crochet fun, color, calls for testers, etc.
| On the Board | -- What you feed your mind determines your appetite.
--Zig Ziglar

Linking up with Hookin on Hump Day here.
Related Posts
Elan Blanket Crochet Pattern
Go ahead. Ask me how many works-in-progress I have right now. Guess what? I'm not going to admit how many there are. ...
Read More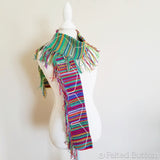
Neighborhood Scarf Free Crochet Pattern
Today is free pattern day! Below is the free crochet tutorial for my Neighborhood Scarf which I introduced and explai...
Read More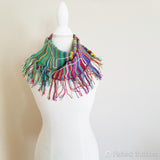
Neighborhood Scarf Reveal -- In Honor of Mr. Rogers
Last week I teased you with some unusual photos from my latest creation. And then I began a story that I'm going to f...
Read More