Set Your Table--V-Stitch Place Setting Free Crochet Pattern
This one was made with some bits of I Love This Cotton from Hobby Lobby I had in my stash. And the colors are all too Cath Kidston or Martha Stewart. They make me happy.
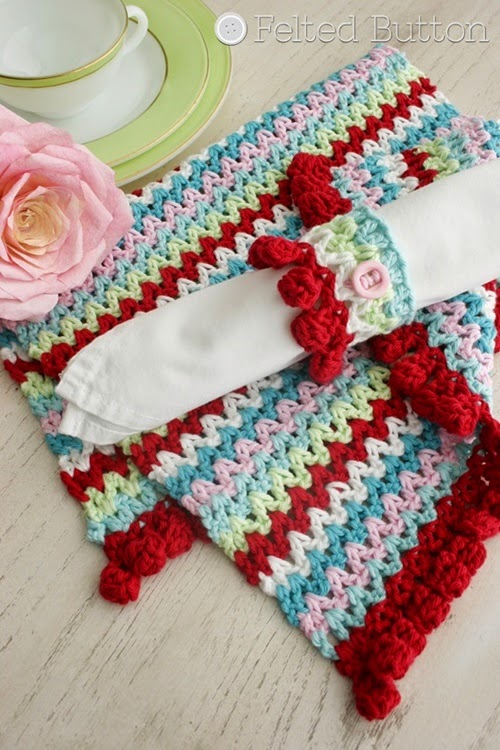
But check out this sample
made by my tester Brittany of R&L Crochet Co.

.jpg)
(100% Cotton; 3.5oz/100g; 180yds/165m) in the following colors:
- Aqua (A) <1
- Pistache (B) <1
- Red (C) <1
- White (D) <1
- Turquoise (E) <1
- Pink (F) <1
Hook: G (4mm)
Button(s): optional (your choice of size and color), but you know I use any excuse to add buttons
- The pattern is worked in multiples of 3 + 1, so if you choose to adjust the dimensions of your piece to make a table runner or even a blanket, simply make your foundation chain in multiples of 3 to the desired width and then ch 1 more. Repeat the color pattern (A-F) as you complete the pattern repeat of Row 2 to the desired height before working the edging.
- When changing colors at the end of a row, pull through new color on final yarn over of last stitch of the row and fasten off the old color.
- You can easily make 4 placemats and 4 napkin rings with the yarns outlined in the materials above.
- Gauge: 20dc X 8.5 rows in pattern = 4 inches (10 cm) but gauge is not critical to this project
- Dimensions of sample placemat: 20 inches (51cm) X 13 inches (33cm)
Stitch Abbreviations used (US Terms):
ch = chaindc = double crochet
popcorn = 4-dc popcorn (see Special Stitches below)
rep(s) = repeat(s)
Rnd(s) = Round(s)
RS = Right Side
- 4-dc popcorn (popcorn)—dc in designated st 4 times, remove loop from hook, insert hook through first worked dc and pick up dropped loop, draw loop through st
Placemat Pattern:
(The sequence of colors is A, B, C, D, E, F, A…)
With A ch 64 (3 X 21 repeats + 1)
Row 1 (RS): dc in 4th ch from hook (skipped 3 ch counts as dc), ch 1, dc in next ch, *sk next ch, dc in next ch, ch 1, dc in next ch; rep from * across to within last 2 ch, sk next ch, dc in last ch, changing to next color in sequence, fasten off old color, turn –42 dc
Row 2: ch 3 (counts as dc), (dc, ch 1, dc) in each ch-1 sp across through last ch-1 sp, dc in 3rd ch of turning ch, changing to next color in sequence, fasten off old color, turn
Repeat Row 2 in color sequence A-F to desired height (sample repeated 6 times) ending final row with A.
Fasten off and weave in ends.
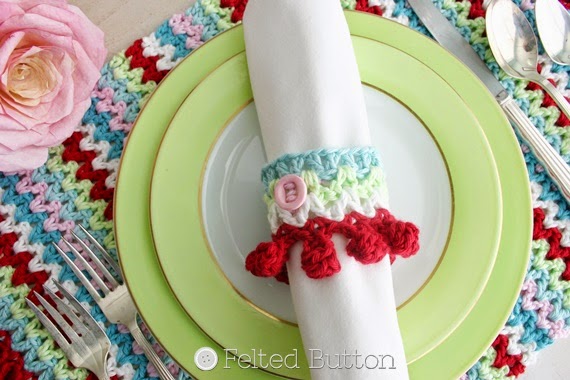
Napkin Ring:
With A, ch 31 (3 X 10 repeats + 1)
Row 1 (RS): dc in 4th ch from hook (skipped 3 ch counts as dc), ch 1, dc in next ch, *sk next ch, dc in next ch, ch 1, dc in next ch; rep from * across to within last 2 ch, sk next ch, dc in last ch, changing to next color in sequence, fasten off old color, turn –20 dc
Row 2: ch 3 (counts as dc), (dc, ch 1, dc) in each ch-1 sp across through last ch-1 sp, dc in 3rd ch of turning ch, changing to next color in sequence, fasten off old color, turn
Row 3: repeat Row 2, omitting color change, ch 1, join to top of first dc (3rd ch of turning ch) to form ring, fasten off
Use ends to join into ring.
Complete edging by working into ch-1 spaces of Row 3 of ring with C according to instructions for edging. Sew button to ring as pictured, if desired.

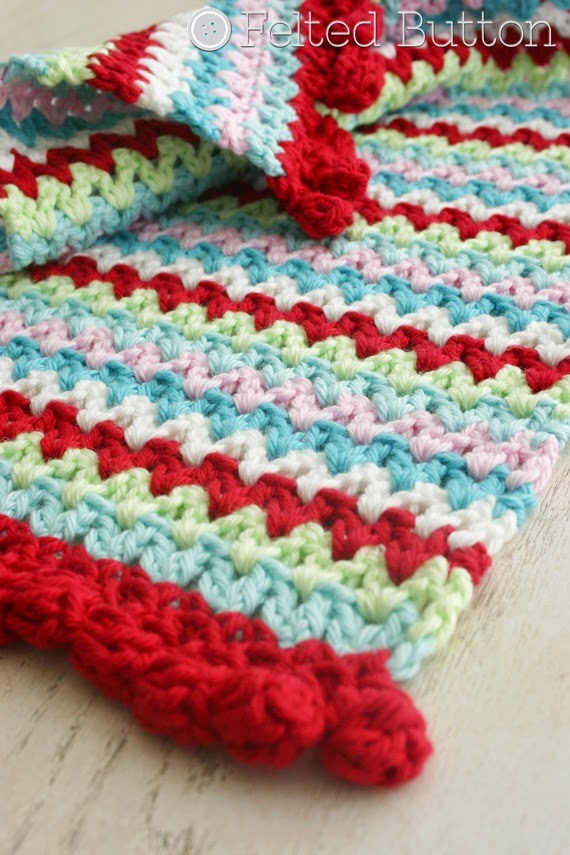
The edging is worked along the sides of the placemat into the ch-1 spaces of the foundation row and then along the ch-1 spaces of the final row (see photos). For the napkin ring, it is worked into the ch-1 spaces of Row 3.
Row 1 (RS): with C and RS facing, join in first ch-1 sp, ch 1 (does NOT count as st), (sc, ch 7, popcorn in 4th ch from hook (see Special Stitches), ch 1, sk 1 ch, sl st in next, ch 1, sk last ch, sc) in same ch-1 sp as joining, *(sc, ch 7, popcorn in 4th ch from hook, ch 1, sk 1 ch, sl st in next, ch 1, sk last ch, sc) in next ch-1 sp; rep from * to end, fasten off and weave in ends –22 popcorns along side for placemat; –10 popcorns around napkin ring

Related Posts
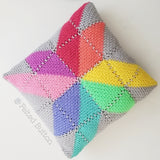
Prism Pillow Crochet Pattern
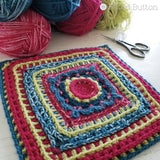
Free Crochet Pattern | Rinske Square