
How To Crochet a Clean Edge Along a Rough Edge

Maybe it's a blanket border. Maybe it's around a dishcloth or sweater. Or maybe along the edge of a scarf or cowl. But anytime you are instructed in a pattern to "work stitches evenly along edge" you are faced with a challenge. Where do you put your hook? How do you keep the stitches along the back from looking uneven and horrible? Particularly if it is in a contrasting color!
Let me show you what I mean, and then I'll provide you a simple technique to help make it look super neat and tidy--on BOTH SIDES!

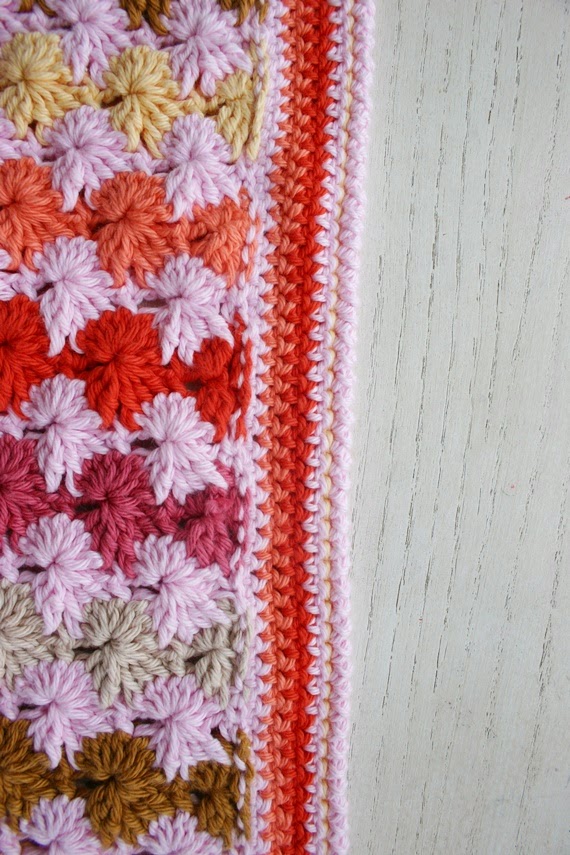
Here is an example of working into a rough edge. This is the back of the edging worked with sc. The border is worked in a contrasting yarn to all of the stripes (so it's extra visible). It's somewhat tidy and the stitches were placed carefully between stitches so as not to leave unsightly gaps. But it doesn't look great, in my opinion. (Maybe my OCD is showing here.)
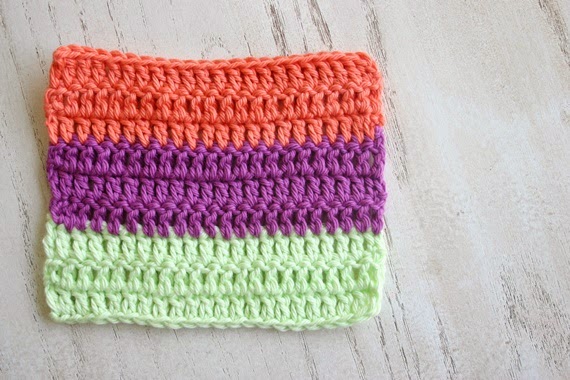
Starting with this lovely wee piece...
Working a border across the top and bottom edges is easy peasy as you have actual stitches to work into--especially if you work into the little back bump of the foundation chain so you leave two loops to work into there--but that's for another post. :)

With the same color of yarn as will be used in the first round of the edging, slip stitch LOOSELY along the rough edges. It is very important to do this evenly and loosely so as not to pucker the sides. I also typically only insert my hook through a loop towards the right side of the work. Again, this helps prevent gaps and unsightly holes.
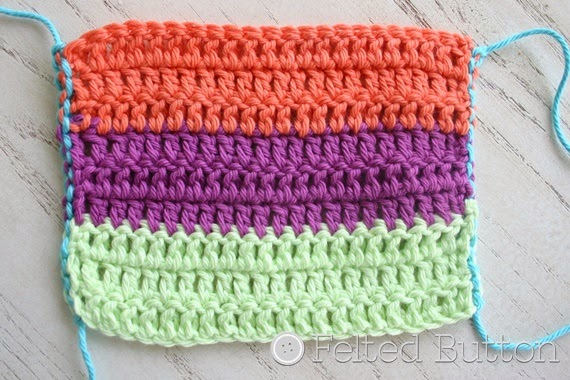
This is a view of the back. See how pretty so far?
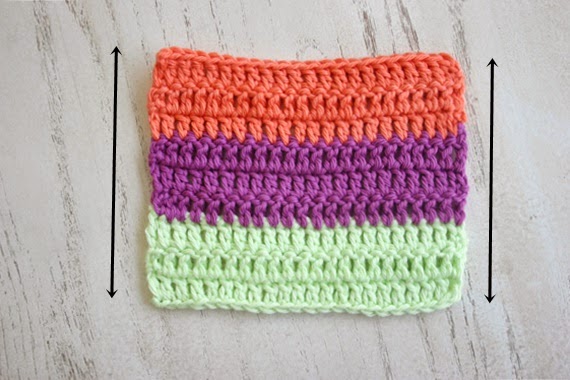
So what does EVENLY mean? A good rule of thumb is, one slip stitch for every sc (UK dc), two slip stitches for every dc (UK tr). This means, since I have 9 rows of dc, I'll need approximately 18 slip stitches along the sides to keep things even. (NOTE: Here, I only have 16 on each side because I'll work my corners with 3 sc which will add a couple of more stitches to each edge and this will give me 18 stitches on each rough edge.) Your pattern may be very specific about the number of stitches needed, however, so follow your pattern.
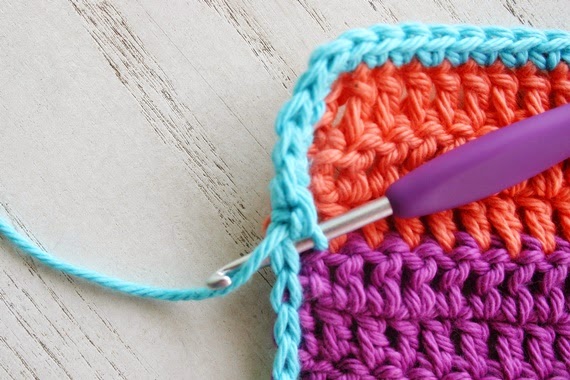
With your rough edges now "prepared", simply work into the slip stitches rather than the edges of your piece. Now that looks good! On around you go...


If you are having questions with where to put your hook along the edge (or just really visual, like myself), the talented Esther from It's all in a Nutshell has made a video tutorial showing exactly how to do it! You can watch it here.
Try it and let me know how it works for you. I hope it assists you in making your crochet look super professional.
Remember to follow me around on Facebook, Instagram, Pinterest and Twitter for updates on patterns, discounts, announcements, and more tutorials like this!
Up until now Facebook has been my primary means of communicating with folks, but it seems they are working hard to only show you posts from friends and family, not your favorite crochet pages, so I'm going to try to get the newsletter out more regularly--once a week is the goal. Plus, it often contains exclusive discounts for subscribers, so sign up!
| On the Board | -- The Heavens will NOT be filled with those who never made mistakes. ~~Dieter F. Uchtdorf

Related Posts
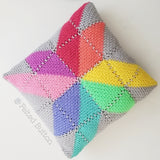
Prism Pillow Crochet Pattern
You know when you are finished with a project and are left with the few bits of leftover yarn--and those leftovers ar...
Read More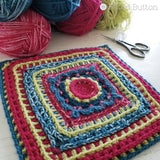
Free Crochet Pattern | Rinske Square
Let me introduce you to my latest free crochet granny square I've named Rinske. I've partnered with the talented Juli...
Read More
Book Review, Crochet Cute Critters
When I first picked up my hook as an adult to begin crocheting, I did as I typically do when learning new things...I ...
Read More